Easy Darth Vader String Art Template Deathly Hallows Easy String Art Templates

Disclosure: This post contains affiliate links. Click hither to read my chapter policy.
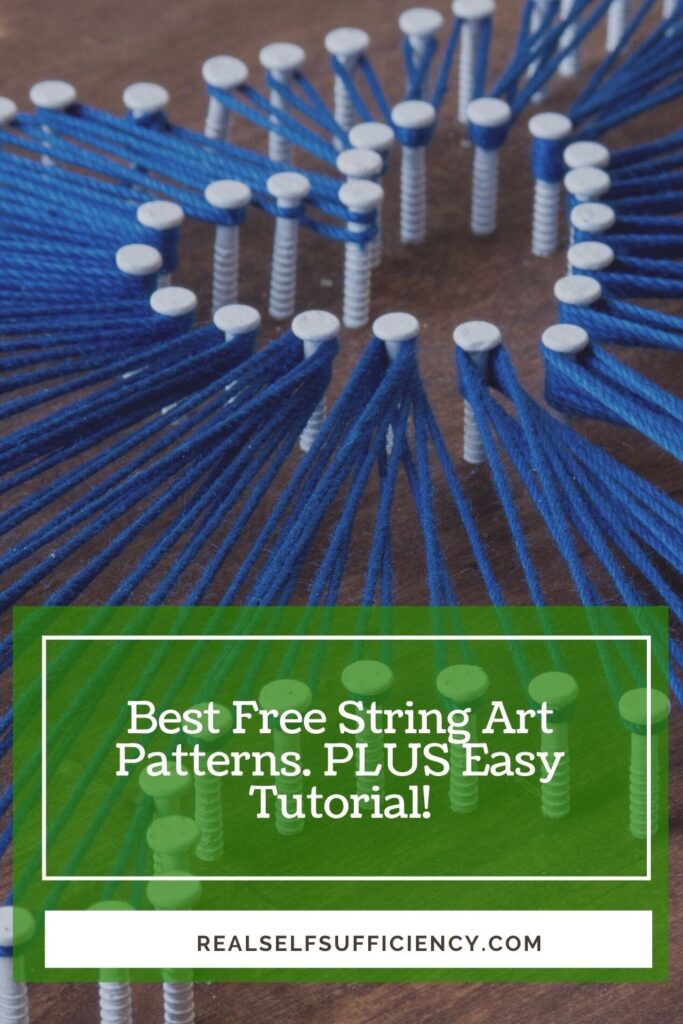
String art is – equally the proper name suggests – fine art that's created primarily out of string. Oftentimes known as pin and thread art, string art is one of the most eye-communicable and versatile DIY projects that are suitable for both novice and experienced crafters alike. We've put together a roundup of the best free cord fine art patterns with instructions to get you lot started on your side by side swell brand!
1 of the best things about string art is that y'all don't need any specialist equipment or need to be a talented creative person. All you need is a hammer, nails, a wooden board (or even some chip wood), some string or embroidery floss, and some imagination.
Lots of free string fine art templates tin be institute online, which does the hardest part for you. Follow the outline with your nails, and wrap your embroidery floss around the nails to bring the pattern to life. The string crisscrosses effectually the nails creating a circuitous geometric pattern that'due south gorgeous.
If you're new to cord art, we've scoured the cyberspace to find the all-time free string art patterns and projects to aid you inspire to create your own beautiful pieces for your home or to give as thoughtful gifts.
Plus, nosotros've put together our own comprehensive and like shooting fish in a barrel-to-follow tutorial, so even if you've never tried string art earlier, you'll be crafting like a pro in no time. Only be conscientious, in one case you've started, you'll become addicted very quickly.
The highly varnished deep wood makes the neutral grey of the string art elephant stand out. Better notwithstanding, ofttimes you can go wood offcuts to make the backboard for your local DIY store for complimentary. Of course, this idea is not limited to a nursery. The neutral colors and elephant motif would work well anywhere.
You're non express to a canvas with string art. You lot tin can create a unique and personalized piece of wall art with merely some nails, a hammer, and some colorful string or yarn. We love the big, bold geometric letters and the use of bright colors confronting the neutral groundwork. What message would you choose?
Is there annihilation more timeless in home decor than the stag motif? Don't worry if yous don't think y'all could draw one, just discover a stag outline you like online, print it off, identify it onto your chosen canvas, and nail around information technology before trigger-happy the paper away...easy! The option of the rustic wooden plaque adds to the woodland feel of this piece.
This heart string art template prints out to fit an viii x 10-inch photo frame and so it would make a neat gift for a loved one. Or information technology could be adapted into a bill of fare for a thoughtful DIY Valentine'southward Day carte. You don't demand nails for this one, instead, yous perforate your thick bill of fare and 'sew' your design with your chosen yarn and a needle.
Small and dainty, this cute string art pattern is great for calculation a niggling extra festive cheer to your home during Christmas. It will come together very quickly and it's and then versatile. You could arrive on the classic wooden background, adapt it into a Christmas card, or use multiple colors to create unique Christmas tree decorations.
From one seasonal cord fine art design to some other, we beloved this innovative thought that uses a pumpkin painted white as your canvas. The outline of your blueprint is traced in nails, pushed directly into the gourd, making this a kid-friendly projection. The natural hemp string adds to the rustic feel, creating a beautifully chic event.
Even if you lot aren't from Wisconsin or America in fact, y'all can notwithstanding take inspiration from this state outline cord art. The middle in the center of the design is a great mode to express your love of a special place and we adore the vibrant color combination.
We love these cute silhouette string fine art portraits of a proud pet possessor and her furry friends. Creating a template is piece of cake using your own pictures and a hint of imagination or you could traditionally create your silhouette past tracing your shadow (you may need help with this part). Plus, how not bad are the wooden plaque backgrounds?
This colorful heart blueprint is a great example of loftier-impact art created with minimal effort. The vivid rainbow colors radiating out from the center of the design are blithesome and cheery and we love the contrast with the copper nails. The key to this pattern is a clean and sharp shape in the centre.
Perfect for creating a country kitchen vibe, string art and flowers brand a gorgeous combination in this piece of three-dimensional art. The iconic mason jar shape is the perfect complement to a rustic wooden background, and the beautiful flowers will give you an everlasting boutonniere
Here's some Harry Potter-inspired string art or fans of the boy sorcerer. The Deathly Hallows motif in black cord pops against the white groundwork, and yous tin go far as large or small equally you lot like. It would make a neat gift for a Harry Potter fan, don't yous recollect?
If you're looking for a craft projection that is a little more ambitious, why non try a string art tree mural for your wall? Information technology may take longer and require more than effort than your regular string art project, just it will be worth it for the sheer touch. You lot could even thread some fairy lights through the cord tree to create a magical piece of art.
The use of brilliant embroidery floss in a rainbow of colors creates such a well-blended event that stands out confronting the neutral groundwork. Plus, nosotros have to say that the utilise of a corkboard is genius - not only is it cheap, but in that location is no hammering or cut forest.
This cord art ballast would add an interesting focal point to your bathroom or fifty-fifty your living space if you're a fan of all things nautical. Nosotros love the utilize of nautical colors and the use of wide head nails, which have a rivet feel that fits the theme perfectly.
Don't have any nails? No worries this pretty piece of string art is traced with Phillips screws instead of nails, which looks effective with the softer mint string and ivory background. The frame is a nifty addition, helping the elementary message to stand out.
If you're looking for a craft project to proceed the kids occupied for a few hours, look no further than this elementary nonetheless constructive planet pattern. Instead of wood, a sturdy foam is used equally a backboard and instead of nails, push pins are used to wind your string or wool around. There is a lot of flexibility with a cream groundwork - you tin only have your design off and change information technology for something new.
How innovative and exciting is this blueprint that adds colorful cord art to an existing epitome. Information technology has brought existent life and movement to the images of the dancers don't you think?
If you don't feel like hammering nails into a wooden lath, why not try out some of these stunning geometric needle and thread string art designs. They take been sewn beautifully onto a sturdy wool background, which yous can go along taut when sewing using an embroidery hoop.
If y'all're looking for a fun and cheap DIY project for when the conditions starts to plow, this autumn string art is just the thing. It'south a perfect slice of shabby chic art that can be fabricated with merely a scrap of wood and some hessian cord. Plus, it tin say anything you like, merely outline the words on your woods and y'all're good to go.
The arrow is always a popular motif for dwelling house decor, and so it will brand a bully slice of on-tendency fine art for your home. We dearest the minimalist blueprint confronting the distressed wooden plank and the combination of contrasting colors.
Sometimes it is the simplest designs that make the most impact. This piece of string wall art is so mannerly in its simplicity. The wooden board has been left more often than not untouched so the natural beauty of the wood shines through. The neutral string has been wrapped tightly around the nails to requite an almost opaque look, which works well. Rustic, barnyard decor at its best.
Who knew a slice of plywood, some nails, and a brawl of yarn could create something so stylish. We love how the string has been used to create the spokes of the Ferris wheel. It doesn't have to be London. You could create an outline of your favorite urban center with nails and create a cord art silhouette of a identify you love.
A slight variation on the stag string art we wrote about earlier, these stunning stag antlers have a lovely illustrative experience. The lite string and silver nails dissimilarity perfectly with the deeply stained woods, but you could experiment with whatever colors you like.
Here's some string fine art for the nature enthusiast - a simple nonetheless constructive tribute to the mountains. The grey and white striped string created the effect of rocky mountains, while white string gives the illusion of snowy peaks. The natural bark-covered wooden plank is the perfect choice of sheet. Simple and clever.
Although possibly a little more complicated than some other string art patterns on this list, once you have your map outline drawn out, the fun can begin. Perhaps you could make your map a picayune more interesting, marking places yous've visited with a colorful piece of string.
Star Wars fans, this one's for yous. This Darth Vader-inspired string art will brand the perfect chamber decoration - we just love the motility in the greatcoat and the white string outline. Nosotros just promise your little one hasn't joined the night side.
This cactus design is a slap-up string art project for beginners thanks to its simple shape. This is one succulent that will never die, every bit well as existence on-trend and adorable. How cute is the pom pom particular?
Elegant with a bear on of the abstract, this deconstructed blossom design has a bang-up visual impact. The pale wooden background is so refreshing with the pastel royal hues. We honey the pastel colors, but you could adapt the colors to match your abode decor.
Want to bandbox upwardly your home for Easter, but don't desire to pay for expensive decorations, make your own with this Easter egg string fine art. Map out your pattern and cull your colors and you lot'll have a personalized Easter decoration that y'all can apply year after year. Get the kids to assistance with this fun Easter craft project.
Bring a flake of the outdoors inside with this lovely fern leaf string art. The distressed and natural wood perfectly complements the graphic leaf design and the forest light-green hue of the string.
Easy Cord Fine art Tutorial
Cord fine art is so easy, enjoyable, and rather therapeutic. It'due south great to be able to switch off for a few hours as y'all current of air the cord around the nails and watch your pattern come to life.
If you're a craft novice, you don't need to worry about needing tools or skills. You may take all you need at home already, which makes string art an affordable craft project.
If our picks of the best string fine art ideas have inspired you lot to get crafting, take a await at our string art tutorial, which has all the data you demand to create your piece of stylish wall art.
What You lot Need to Make String Art: Essential Cord Fine art Supplies
The supplies y'all need to make your slice of string art are non difficult to find. If y'all don't already take them at home they tin can easily be picked upwards at any craft shop or online. Y'all'll demand:
- A wooden board, even a piece of scrap wood or offcut would do, which won't cost a penny. Otherwise pre-cut boards of all shapes and sizes tin be bought at your local hardware or hobby store. The size is totally up to you.
- Flat-topped nails, these are a slap-up choice, will hold the cord in place when yous wrap the cord around. We like linoleum nails as they're a perfect size and requite a neat cease. But you can choose whatever type of flat-topped smash you similar.
- Embroidery thread, which comes in almost any color you can imagine, to create personalized string fine art. For a more natural or rustic look, y'all could apply natural jute twine or a macrame string.
- A hammer which isn't too heavy so information technology is easy to manage. Small ball peen hammers (this i comes highly recommended) or jewelry hammers are a good choice.
Choose Your Outline
Take a few minutes to think nearly your design, whether you want to create an abstract piece, a word or a phrase, or a picture of something close to your heart.
If you experience confident in your drawing skills you can draw them out directly onto your board. If you lot want to go it perfect, there are numerous gratuitous string art patterns online that y'all can print out at home.
Pro Tip:
Before attaching your template to your lath, flip it over and put masking tape over all the behind of the outline. This reinforces your template, and then you'll have an easier fourth dimension keeping the template from tearing and it'll be easier to remove, also.
Cull and Prepare the Wood
Of course, information technology stands to reason that you should choose a scrap of wood that fits your design and is thick enough for your nails to exist hammered to a depth of near half an inch.
If you're using offcuts of woods like nosotros often do, you may have to glue several pieces of forest together starting time. Just brand sure yous apply potent woods glue like this one and make sure it's level before y'all clamp the woods together securely for the glue to dry. Using different pieces of wood to make a canvas for your string art may have longer, merely y'all tin can create something actually interesting, and you're reducing waste matter.
How you prepare your wood is entirely up to you. If you lot want a smooth and polished finish, give your wood a good sand, and finish with a danish oil or varnish. If you lot want a natural and rustic look, you lot can leave the wood unfinished or choose a lath with its bark remaining. Other ideas include painting the wood or giving it a shabby chic end.
Alternatives to a wood sheet include MDF, plywood, a corkboard, and a sturdy crafting foam.
Use the Nails to Outline the Shape
Once your wood is prepared and your design is mapped out, you lot're set up to move onto nailing your piece. Hither are a few things to consider:
- Altitude between the nails – How shut together your nails are, depends on how yous desire the finished piece to look. For a more opaque finish, place your nails close together, or for a more geometric wait, you can identify your nails further apart.
- Evenly spaced nails – For a polished piece of cord art, information technology's key that your nails are as evenly spaced as possible. I do this past placing two marks on a string and using them to mensurate the distance betwixt my nails. Unproblematic.
- Blast depth – Effort to embed your nails to the same depth, to go on your design looking even, and make certain they are deep enough to feel secure.
- Nail colour – We like polished silver nails equally they stand out confronting your pattern, but if you lot desire a more rustic wait you might choose copper or blackness nails. As long as the smash is flat-topped, the color choice is yours.

Pro Tip:
I'thou not the all-time at hammering nails evenly and straight, so I use needle-nose pliers to concord the nail in place, which works every time. Plus, they enable you lot to hammer nails safely without injuring yourself.
Kickoff Outlining With String
Now information technology's time to start having some real fun – getting to work with the string:
- If necessary remove your paper blueprint.
- Choose your string and tie it to the starting time blast, leaving a tail for tying off when you're all done.
- If you're using embroidery floss, utilize all six threads to avoid breakages when the string is pulled taut.
Pro Tip:
When you lot reach a corner or need to change the management of the string, wrap the string tightly around the nail. This will keep the string tight, maintaining the integrity of your pattern.
Make full in the Your Blueprint
Once you lot take outlined the cord, y'all can start filling in your design past crisscrossing your string, wrapping information technology from nail to nail. There is no set method for this. Our virtually successful designs take come from when we have switched off our brains and allow the string guide us.
Just go from side to side and top to lesser and watch your piece of string fine art come to life. If you are coming close to the stop of a piece of string, try to terminate it where you left your tail of string at the beginning. Knot the ends of your strings tightly together and keep wrapping your string until you've reached your desired effect. Tie off the finish of your string and clip the tails.
At present all you demand to do is find a identify to brandish your unique piece of art. Nosotros bet it won't be long until you lot're planning your adjacent string art project, why not brand it a thoughtful and unique gift for a loved one?

Tips for Successful String Art Projects
We've already given you a few handy hints to help make your string art project a success, just we have a few more pro tips to assistance you achieve the best possible issue.
Dealing with a Aptitude Nail
A bent nail can be removed easily with a pair of pliers, but this could get out a hole in your woods that is too large to concur a blast. The best thing to practise is to try and avoid bent nails altogether. You lot can exercise this by:
- Using needle-nose pliers to keep your nails straight as you hammer them into the board.
- Pre-drilling holes for your nails to get into, this means less hammering, while notwithstanding having secure nails.
- Not placing your nail too shut together, which should aid preclude yous from hit more than than i blast at a time and knocking some off-middle.
Choosing a Font
If you want to make string word fine art, you'll need to choose a wide font, so there is room for two tracks for nails on each letter of the alphabet. Plus, fugitive overly fancy fonts will keep your design squeamish and crisp, and almost importantly, legible.
Colors of String
Boost the visual bear upon of your string art past incorporating unlike colors of cord. We find contrasting colors (i.due east. opposite 1 another on the color bicycle) work well, as like tones tin go lost in one another, looking 'muddy'.
Tin You practise String Fine art Without Nails?
Admittedly, there are several cord art methods that don't require nails at all, for example:
- Use screws instead of nails, which will give a rustic and nearly industrial experience to your string art.
- You lot can utilise a corkboard or foam equally your can and push pins instead of nails for some kid-friendly string art.
Tin can String Art be Done on Canvas?
Of course, information technology tin and in a couple of unlike ways. The first is past marking out your chosen blueprint on your canvas with small finishing nails and wrapping your chosen string around them until you've reached the desired issue.
The second method is by punching holes into your canvass and 'sewing' your design onto the canvas with a big needle and your embroidery thread. This method could too be used on heavy card stock to create framable gifts.
Source: https://realselfsufficiency.com/best-free-string-art-patterns-with-instructions-plus-free-string-art-tutorial/
0 Response to "Easy Darth Vader String Art Template Deathly Hallows Easy String Art Templates"
Enviar um comentário